
7 Paper Plate Crafts for Kids Ages 3-4
Three- and 4-year-olds are right in the middle of wanting to make the whole thing themselves and still needing help when the paper refuses to behave. Paper plates are good for that stage because they give kids a sturdy starting shape without asking them to draw a perfect circle first.
They can paint a plate, fold it, cut a broad spiral, glue on big pieces, or turn half of it into an animal body. The projects below leave room for preschool-looking results instead of expecting every edge to line up.
Use child-safe scissors only with close supervision, and let an adult handle any tougher cuts or tiny adjustments. Keep paper pieces broad enough to manage without frustrating little fingers.
The goal is a craft they recognize as theirs when it hits the fridge, not a plate you quietly rebuild after they go to bed.
1. Paper Plate Lion Face
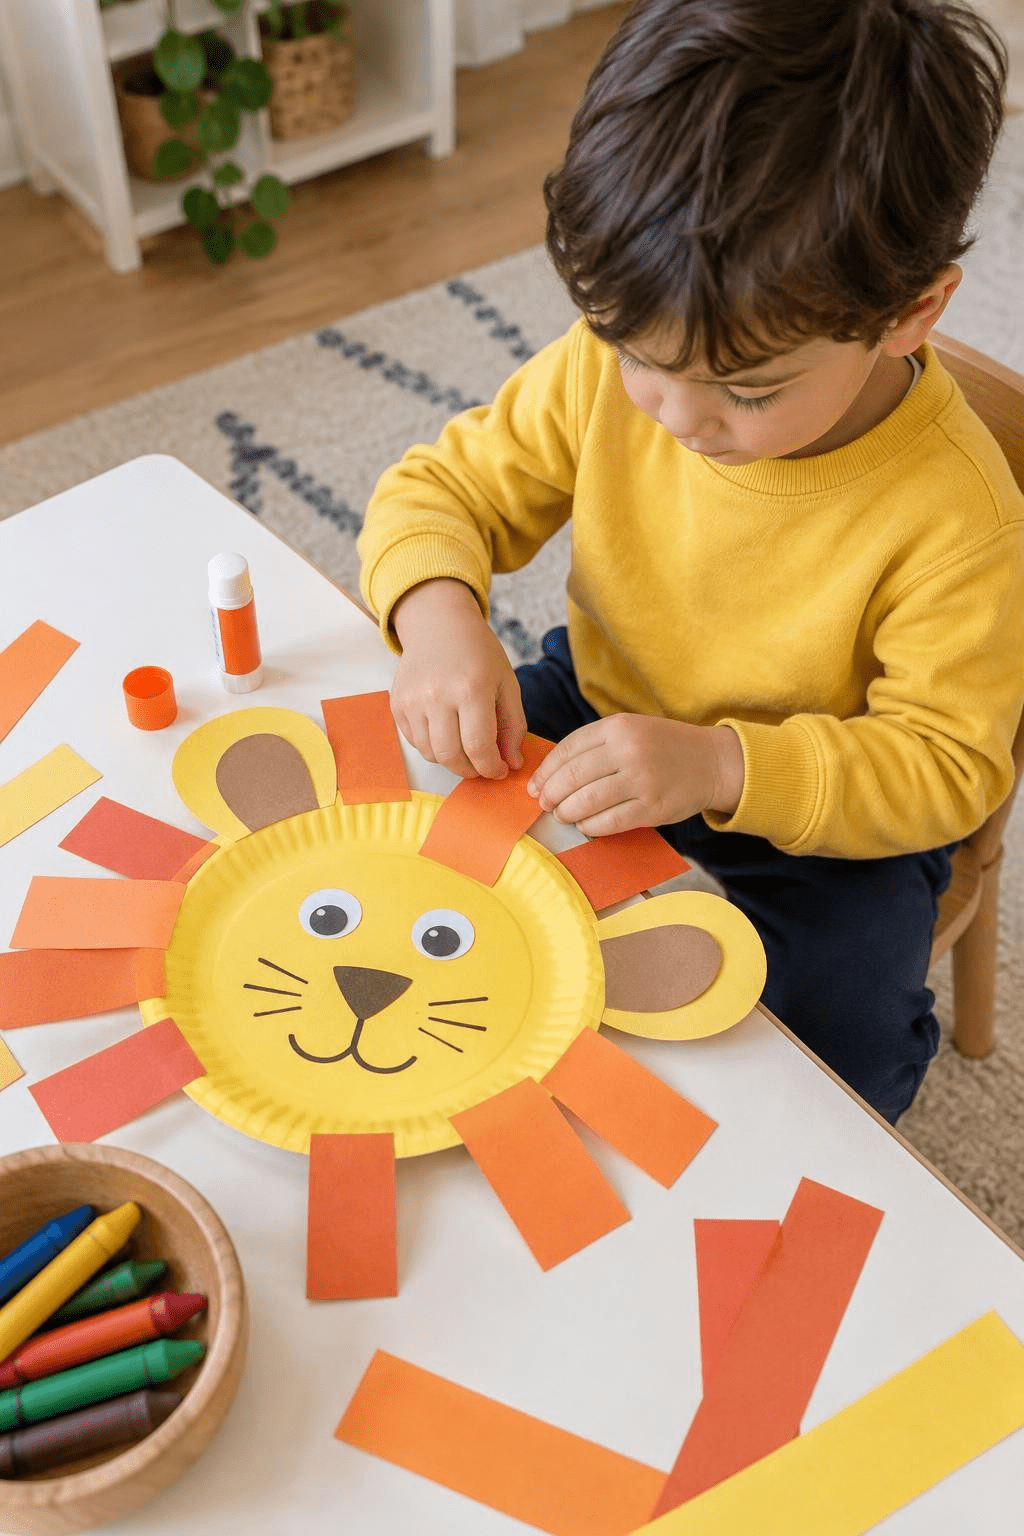
Color or paint the middle of a paper plate yellow, tan, orange, or whatever color your child wants. Cut or tear broad strips of paper for the mane and glue them around the outer edge. Add two large paper ears and use chunky crayons to draw the eyes, nose, mouth, and whiskers. The mane strips can point in every direction. If your child wants more to do, let them add a second layer of shorter strips between the first ones.
Why it works: The repeated mane pieces give them plenty to place, while the face in the middle is simple enough to finish with a few crayon marks.
Age range tweak:
- Age 3: Use pre-cut or torn mane strips and help place glue around the rim.
- Age 4: Let them cut some wide strips themselves and build a fuller mane.
2. Paper Plate Spiral Snail
Draw one thick spiral line from the outside edge of a paper plate toward the middle. Let your child color the plate first, then help them cut along the spiral with child-safe scissors. An adult can take over if the curve gets too tight. Leave the center attached as the snail's body and head. Add a large paper eye and two broad paper antennae, or just draw the face with crayons. Once the spiral is cut, lift it gently so the shell opens into a loose coil.
Why it works: Coloring comes first, then one long cut changes the flat plate into a springy snail shape they can hold and move.
Age range tweak:
- Age 3: Let them color the plate and make a few straight snips while an adult handles most of the spiral.
- Age 4: Let them follow more of the thick spiral line with supervision.
When You Need More Screen-Free Ideas

We made a free Screen-Free Activity Finder for exactly this. Pick your child's age, how much time you have, how much energy they have, and how much help you can give. It'll send you screen-free activity ideas that use normal home materials.
Drop your email and we'll send it over. Unsubscribe anytime.
3. Folded Paper Plate Fish
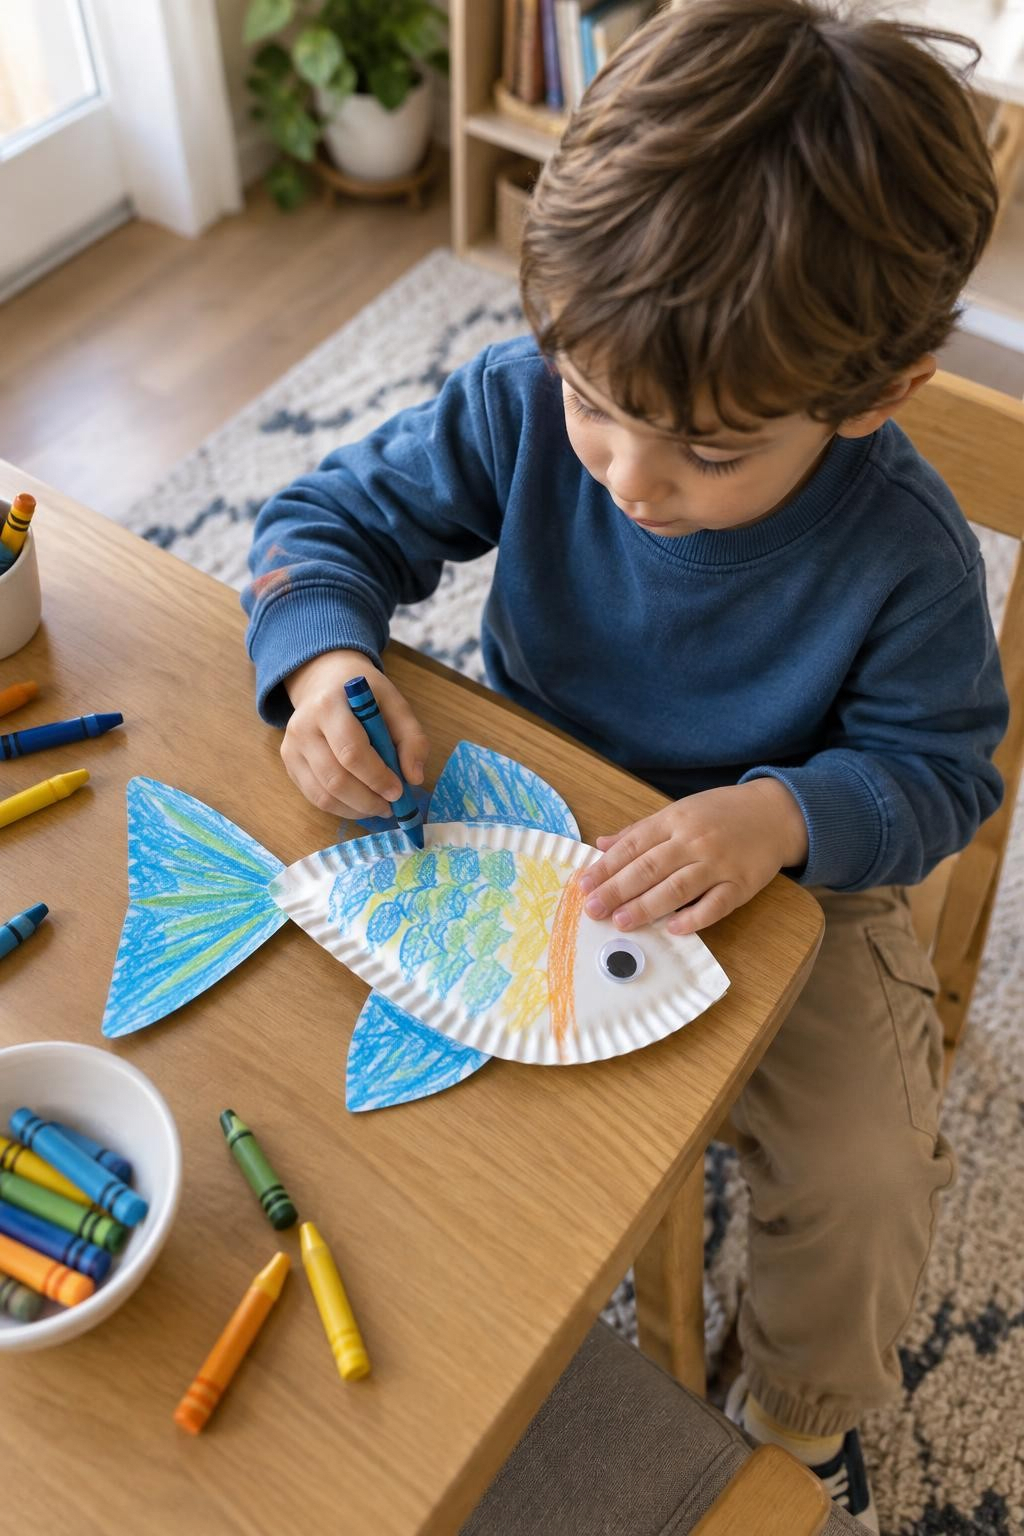
Fold a paper plate in half so the rounded edge becomes the fish's back and belly. Tape or glue the two sides together near the edge, leaving the fold as the body. Cut a large triangle from sturdy paper for the tail and glue it to the back. Add one big paper fin on each side, then decorate the fish with crayons, broad paint spots, or torn paper scales. Keep the fins and tail big instead of adding tiny pieces.
Why it works: Folding gives the fish its body immediately, so the decorating feels like adding to something instead of starting from a blank page.
Age range tweak:
- Age 3: Use pre-cut tail and fin pieces and let them decorate the folded body.
- Age 4: Let them help fold the plate and cut one or two broad paper fins.
4. Paper Plate Pop-Up Crown
An adult can cut six wide triangular points into the center of a paper plate, stopping before the outer rim so the rim stays in one piece. Push the points upward and crease them gently so they stand above the plate like a crown. Let your child decorate the rim and points with chunky crayons, washable paint, or oversized stickers. Keep the points broad rather than sharp, and check the fit before your child puts the crown on.
Why it works: One set of cuts changes the flat plate into something wearable, and folding the points upward gives kids a clear construction step before decorating.
Age range tweak:
- Age 3: Let an adult make all the cuts, then help fold the broad points up before decorating.
- Age 4: Let them crease the points, choose the pattern, and decorate more of the rim themselves.
5. Paper Plate Hot Air Balloon
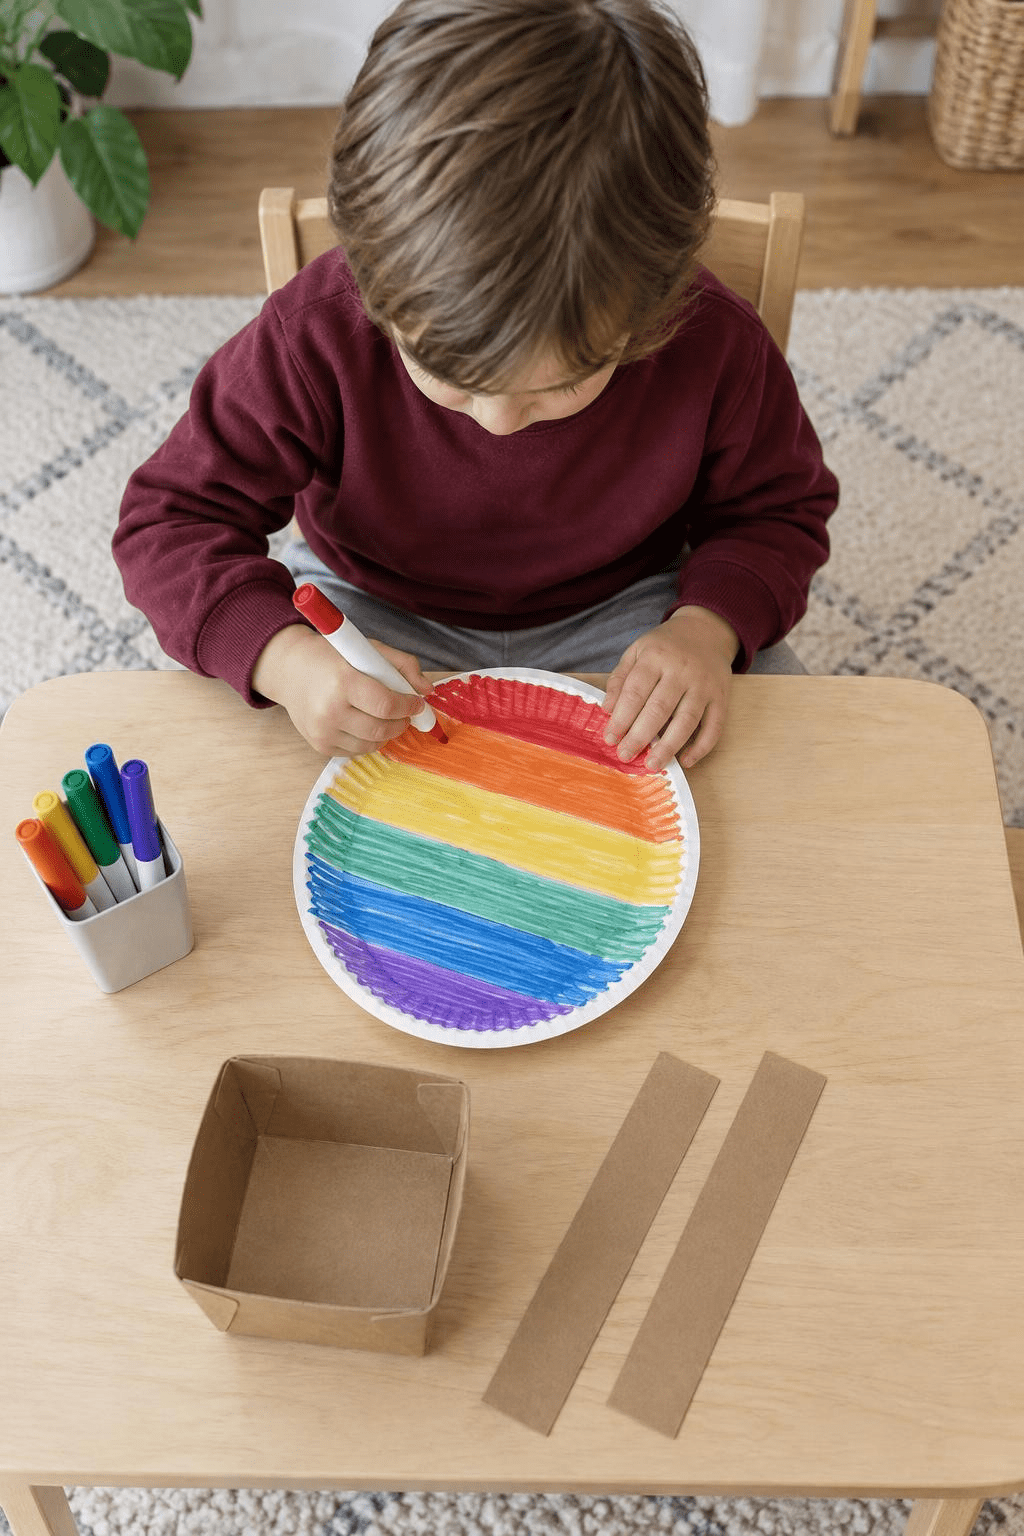
Paint or color a paper plate with stripes, dots, zigzags, or big patches. Cut a small basket from sturdy paper or thin cardboard. Glue two wide paper strips from the bottom of the plate down to the basket instead of using loose string. Add paper clouds around the balloon on a larger sheet if your child wants a background. The plate can stay whole, so most of the time goes into decorating rather than cutting.
Why it works: They get a large area for color first, then adding the basket turns the decorated plate into something recognizable with only a few extra pieces.
Age range tweak:
- Age 3: Decorate the plate and help press on a pre-cut basket and two wide paper strips.
- Age 4: Let them design a repeating pattern on the balloon and cut the basket with help.
6. Paper Plate Dinosaur Body
Cut a paper plate in half to make a big curved dinosaur body. Use sturdy paper for a long neck, tail, four broad legs, and several large back plates. Let your child arrange all the pieces around the half plate before gluing anything. Once they're happy with the dinosaur, glue the pieces down and add crayons, spots, or broad paper patches. It can be a long-neck, a spiky dinosaur, or a completely made-up one.
Why it works: Moving the loose parts around before gluing gives kids a little puzzle to solve without requiring the dinosaur to look scientifically correct.
Age range tweak:
- Age 3: Use pre-cut body parts and let them arrange and glue the pieces.
- Age 4: Let them cut one or two simple parts and change the dinosaur shape before gluing.
7. Paper Plate Butterfly Wings
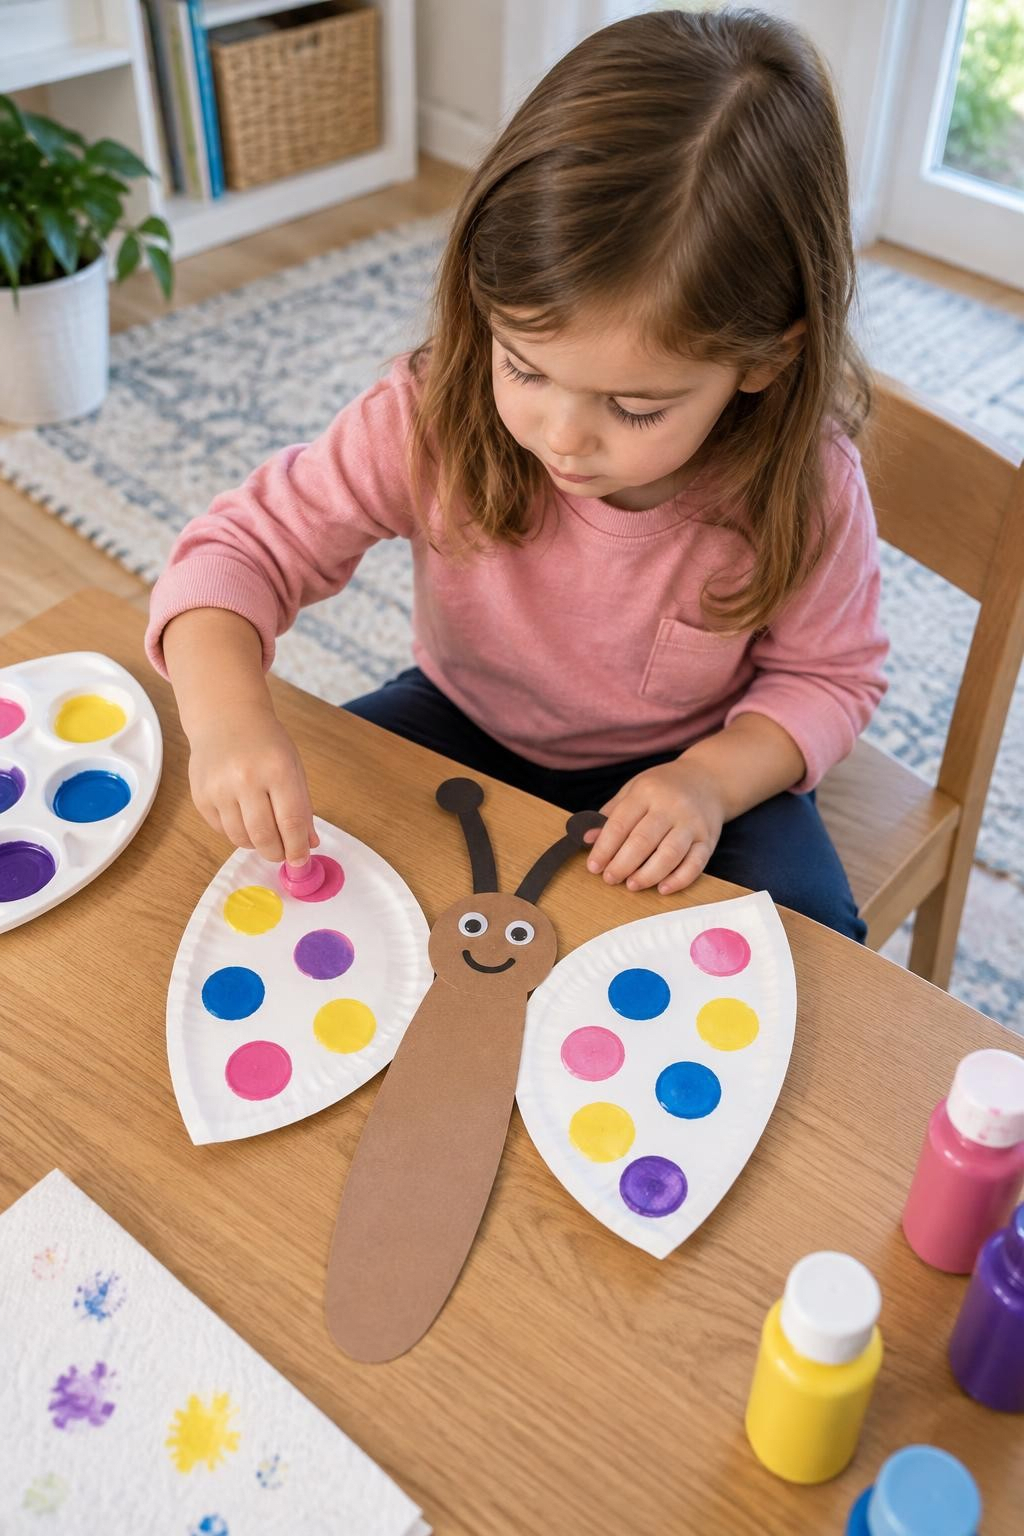
Cut one paper plate in half and turn the two halves so the rounded edges face outward as wings. Decorate each half with washable paint, crayons, or large torn paper pieces. Cut a wide paper body and glue one wing to each side. Add two broad paper antennae or draw them onto the background instead of using small wire pieces. The two wings don't have to match. Let your child make one side completely different if that's what they want.
Why it works: The plate halves already give them two big wing shapes, and decorating each side separately lets the craft keep going without adding complicated construction.
Age range tweak:
- Age 3: Decorate pre-cut plate halves and help glue them to a broad paper body.
- Age 4: Let them help cut the plate and choose whether the wings match or look different.
The Bottom Line
Paper plates work well at 3 and 4 because they take away one of the annoying parts of crafting: making a big base from scratch. The circle, curve, or half-circle is already there.
Let the cuts wobble and the animal parts land a little crooked. Preschool crafts usually look better when you can tell a preschooler actually made them.

Want to have these ideas in one place, customized for your kid in just a click? Grab our free Screen-Free Activity Finder.
One mom told us: "My toddler was losing it while I was trying to clean the kitchen. It seriously felt like I couldn't do anything!! The generator gave me 'Table Washing.' I handed him a spray bottle with water and a rag, pointed at the table. He sprayed and wiped for 20 minutes. And here's the thing - he was actually helping. The table was cleaner when he finished. He got to feel useful, I got to clean in peace."
The Screen-Free Activity Finder is free. Put your email in below and we'll send it over.